By enabling a hidden debug feature in Disk Utility, you are able to both view and mount hidden partitions on hard drives in Mac OS X. Hidden partitions include things like Linux swap, GUID partitions, a Windows Recovery drive, and OS X Lion or Mountain Lion onwards Recovery HD partition, and once they’re mounted they can be edited or formatted just like any other drive. There are many cases where you’ll want access to these hidden partitions, and we’ll show you exactly how to do that.
Show & Mount Hidden Partitions with Disk Utility in OS X
Before gaining access to the hidden partitions you will need to turn on the hidden debug menu within Disk Utility:
- Quit out of Disk Utility, and launch Terminal to type the following defaults write command:
defaults write com.apple.DiskUtility DUDebugMenuEnabled 1
- Relaunch Disk Utility and look for “Debug” to appear alongside ‘Help’
- Click on the new Debug menu and pull down and select “Show every partition” so that a check mark appears next to it
Show hidden partitions in Mac OS X with Disk Utility

- Now the hidden partitions will displayed alongside mounted visible partitions, but they will appear grey rather than black
- Right-click on the grayed out partition to mount and choose “Mount [Drive Name]”

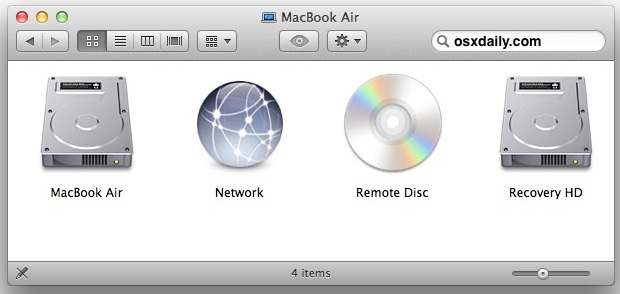
Going back to the Finder, you’ll now find the hidden partition is now visible as any other drive, and it will even appear on the Desktop if you have icons shown there. Be aware that if you start moving or deleting files on crucial partitions like Recovery HD, they very well may not work when you need them to.
It’s really not recommended without a compelling reason (like downgrading to 10.6), but you can delete “Recovery HD” using this method to make the drive visible.
Disable the Disk Utility Debug Menu
To hide the debug menu again from Disk Utility, use the following defaults write command:
defaults write com.apple.DiskUtility DUDebugMenuEnabled 0
Source osxdaily
View and mount a hidden partition in Mac OS X
No comments:
Post a Comment